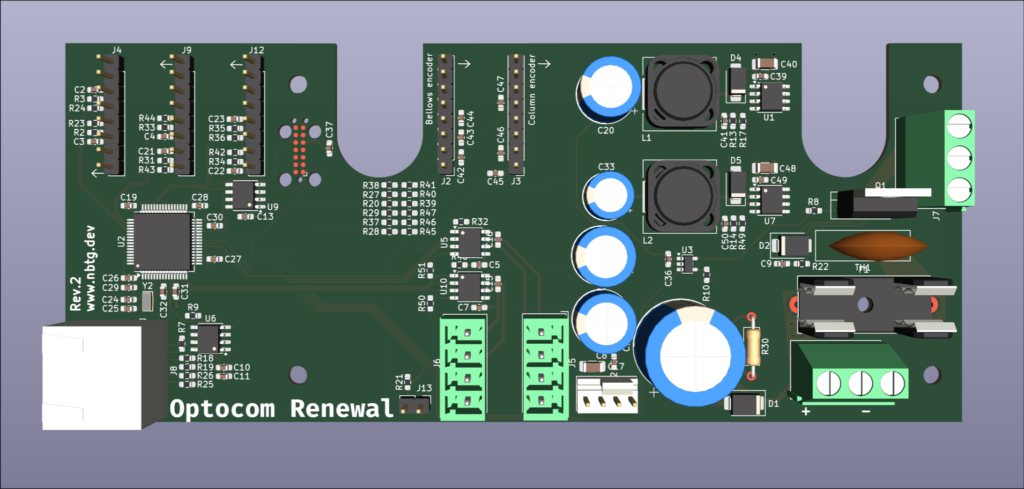
Hey! It’s been a while. I’ve slowly been making progress on the project, so it’s high time for an update.
CLS501 rework
First off, I’ve reworked the CLS501. The unit came without a power supply. As anyone who likes to use Durst stuff knows, anything branded Durst is worth its weight in gold. So a 24v transformer & stabilizer such as the TRA500 which is the standard pairing for the CLS501 will run you upwards of €200. For just an old-ass AC stabilizer… Jeez.
Since I’m rebuilding the system anyway, why not retrofit the CLS501 to take DC instead? There’s a halogen bulb inside, which will run on both AC and DC, just like the incandescent tungsten bulbs of days past.
A trade-off here is that their working life will be shorter, though. Since AC switches directions 50 times a second (here in the EU), the filament will be stressed in both directions equally. Running it on DC means that the filament’s material moves in one direction, leading to stress mainly on the DC+ side where it will fail first: it will form a tapered filament.
This is mainly a problem for high-voltage low-wattage bulbs though: our 24V 250W tungsten bulb has a thick filament which is less impacted by this. The convenience of running everything off of a single power supply outweighed the reduction in service life in my view. These lamps don’t have a real long service life to begin with anyway 😉
So from the lamp’s perspective the PSU is a drop-in replacement. There is another problem though: the head contains a fan that runs on 24V AC. It’s an old industrial-type EBM nautilus blower that pulls air through the lamp housing, over the lamp, and ejects it in a 90-degree bend out the side. These types of fans do not exist in DC, at least, not affordable ones.
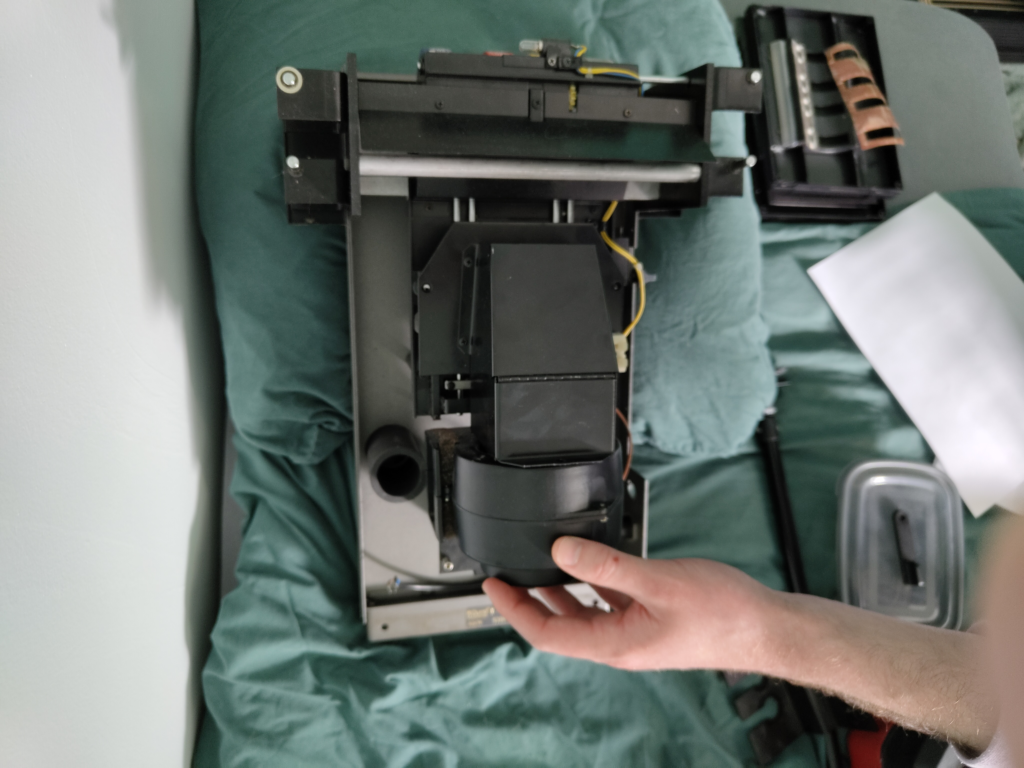
I opted for a Delta EHE high-speed 120mm fan. This is an axial fan, which means it will definitely not be drop-in. The solution I came up with is to design an air duct, reversing the original airflow direction.
The CLS501 has a large intake with a dust filter at the back. Air enters from the back, travels through the entire head and is pulled through the lamphouse from the front by the EBM blower and is ejected at the side of the head. My new approach is to attach a 3D-printed air duct to the back of the lamp house and print a new back cover for the head which can house the Delta fan, which in turn attaches to the air duct. The old exhaust hole is now the intake hole, so the airflow is reversed.
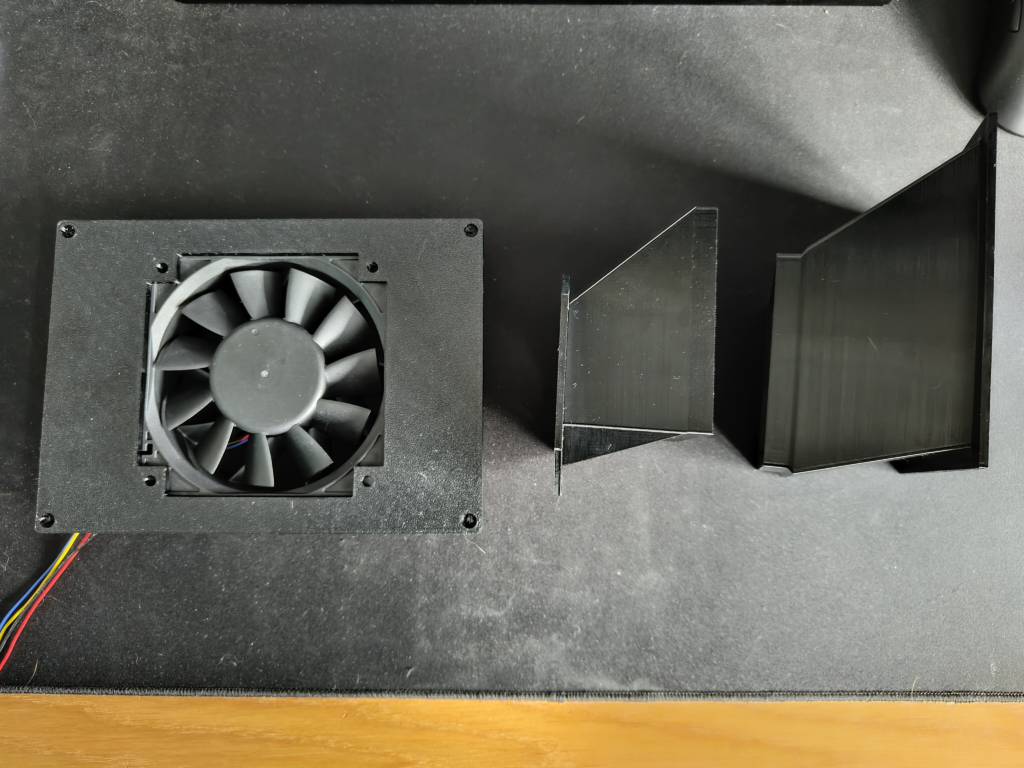
The new duct has some Venetian blinds acting as a light lock to ensure no light exits the head from the back and potentially fogs the paper.
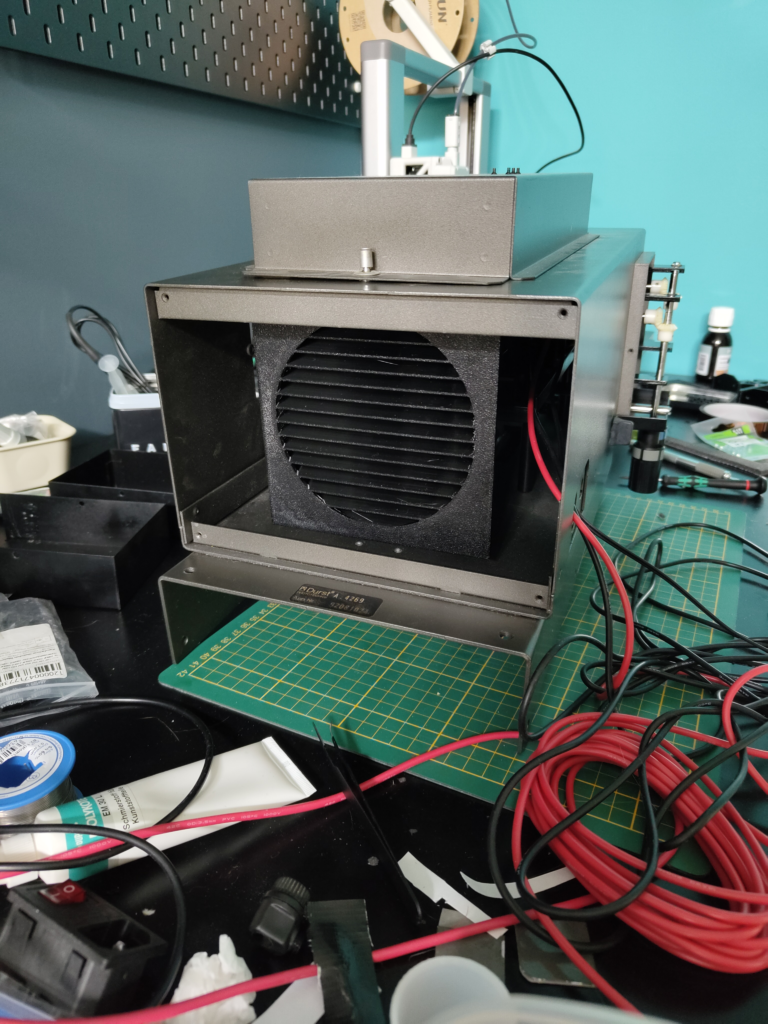
Additionally, I added a NTC temperature sensor on top of the lamp housing. The Delta fan has PWM control and is fed by the new Optocom replacement PCB. The sensor and PWM allow me to regulate fan speed, hopefully leading to quieter operation than with the EBM, which gets quite loud. Not that this Delta fan at 100% speed is any quieter…
Optotris
There’s been progress on the Optotris front. The Optocom manually helpfully contains the dimensions of the Optoring system used to mount lenses to the turret, including full metric dimensions with thread pitch!
The holes are M50, M60 and M65 respectively, all threaded with 0.75mm pitch in standard ISO 60 degree thread angle. Female thread is M39 LTM, Leica threaded, which has 26 threads per inch (TPI) so 1/26in pitch, with a thread angle of 55 degrees called Whitworth thread.
There are three standard lens tubs: the Optoring 7.5, 15 and 19. The numbers signify the depth of the tub.
This made it fairly simple to create a parametric CAD design to generate the lens tubs:
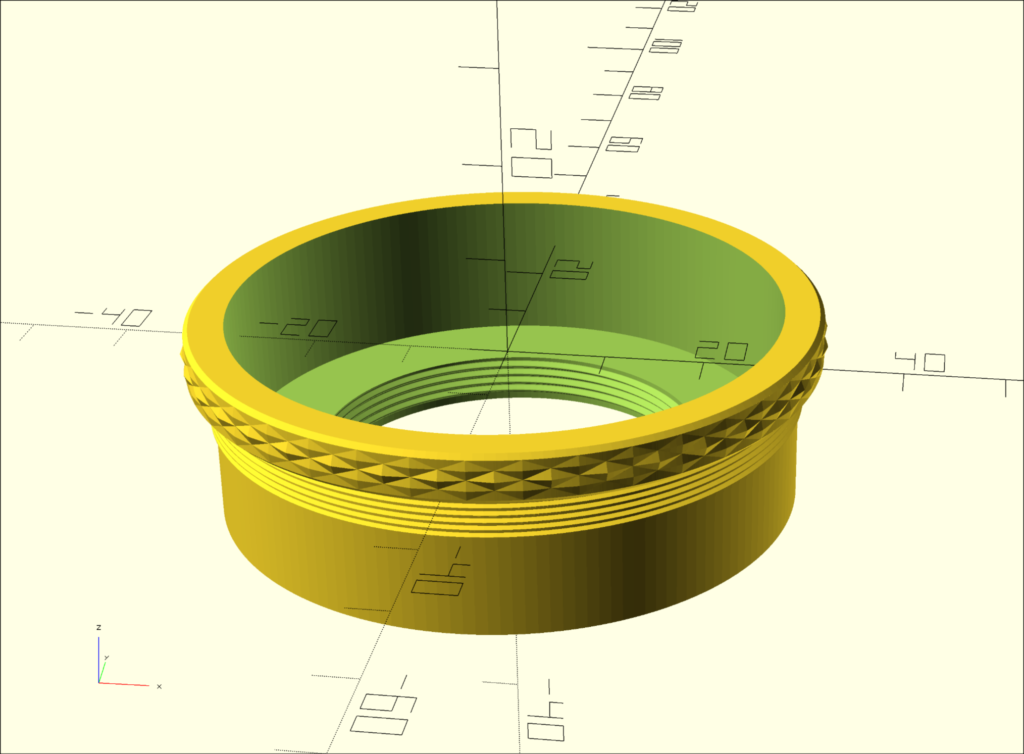
My Bambu Lab A1 is apparently an excellent printer. It prints M32.5×0.5mm pitch threads without a hitch. I was pleasantly surprised by the quality of the final prints. Everything screws in without forcing.
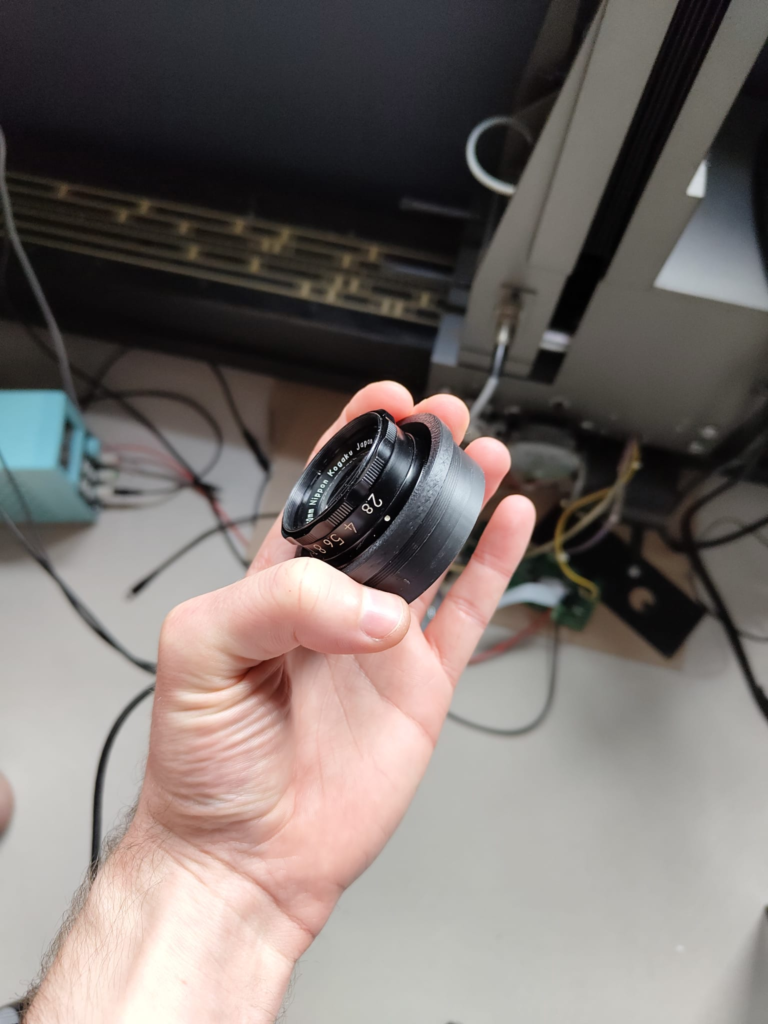
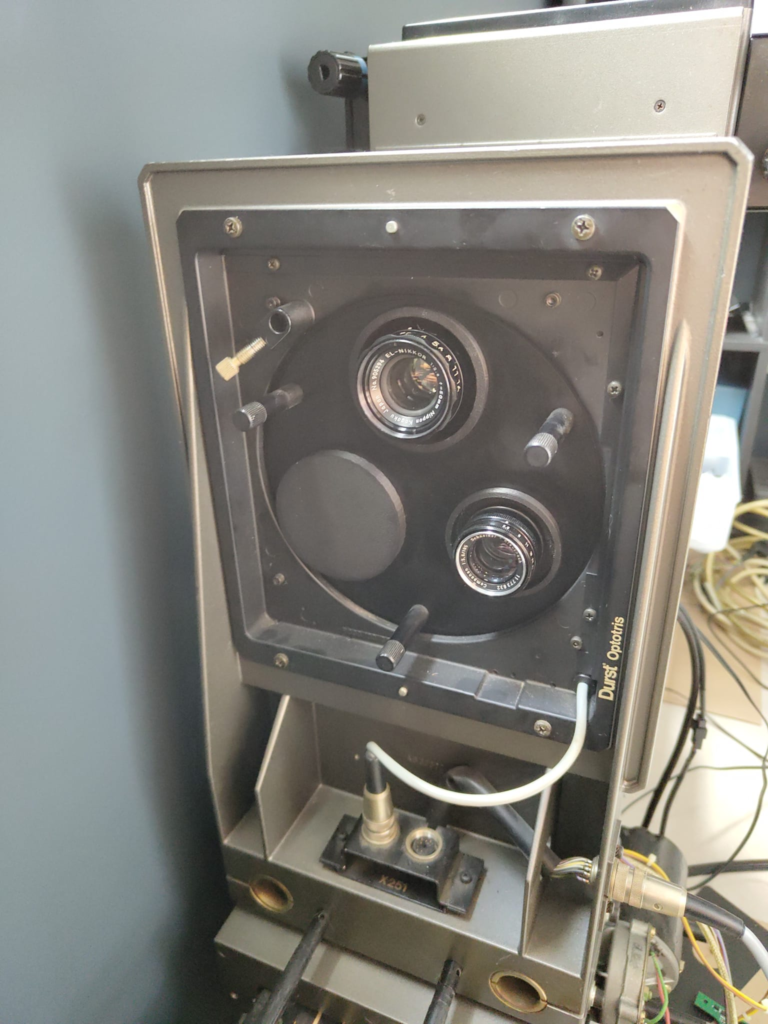
I’ve also printed some simple TPU shims to sit between the lens and the Optoring, to allow you to mount the lens with the aperture indicator pointing forward.
That’s it for now! Work on the firmware is steadily progressing. I’ve sketched out Revision 2 of the PCB, fixing the issues found during development. I’ll write a post about that when I have them produced.
As always, the 3D models I use are open-sourced, and will end up on my Printables page when they’re ready for release. I’ll probably sell ready-to-go prints in my store for a fair price as well.